
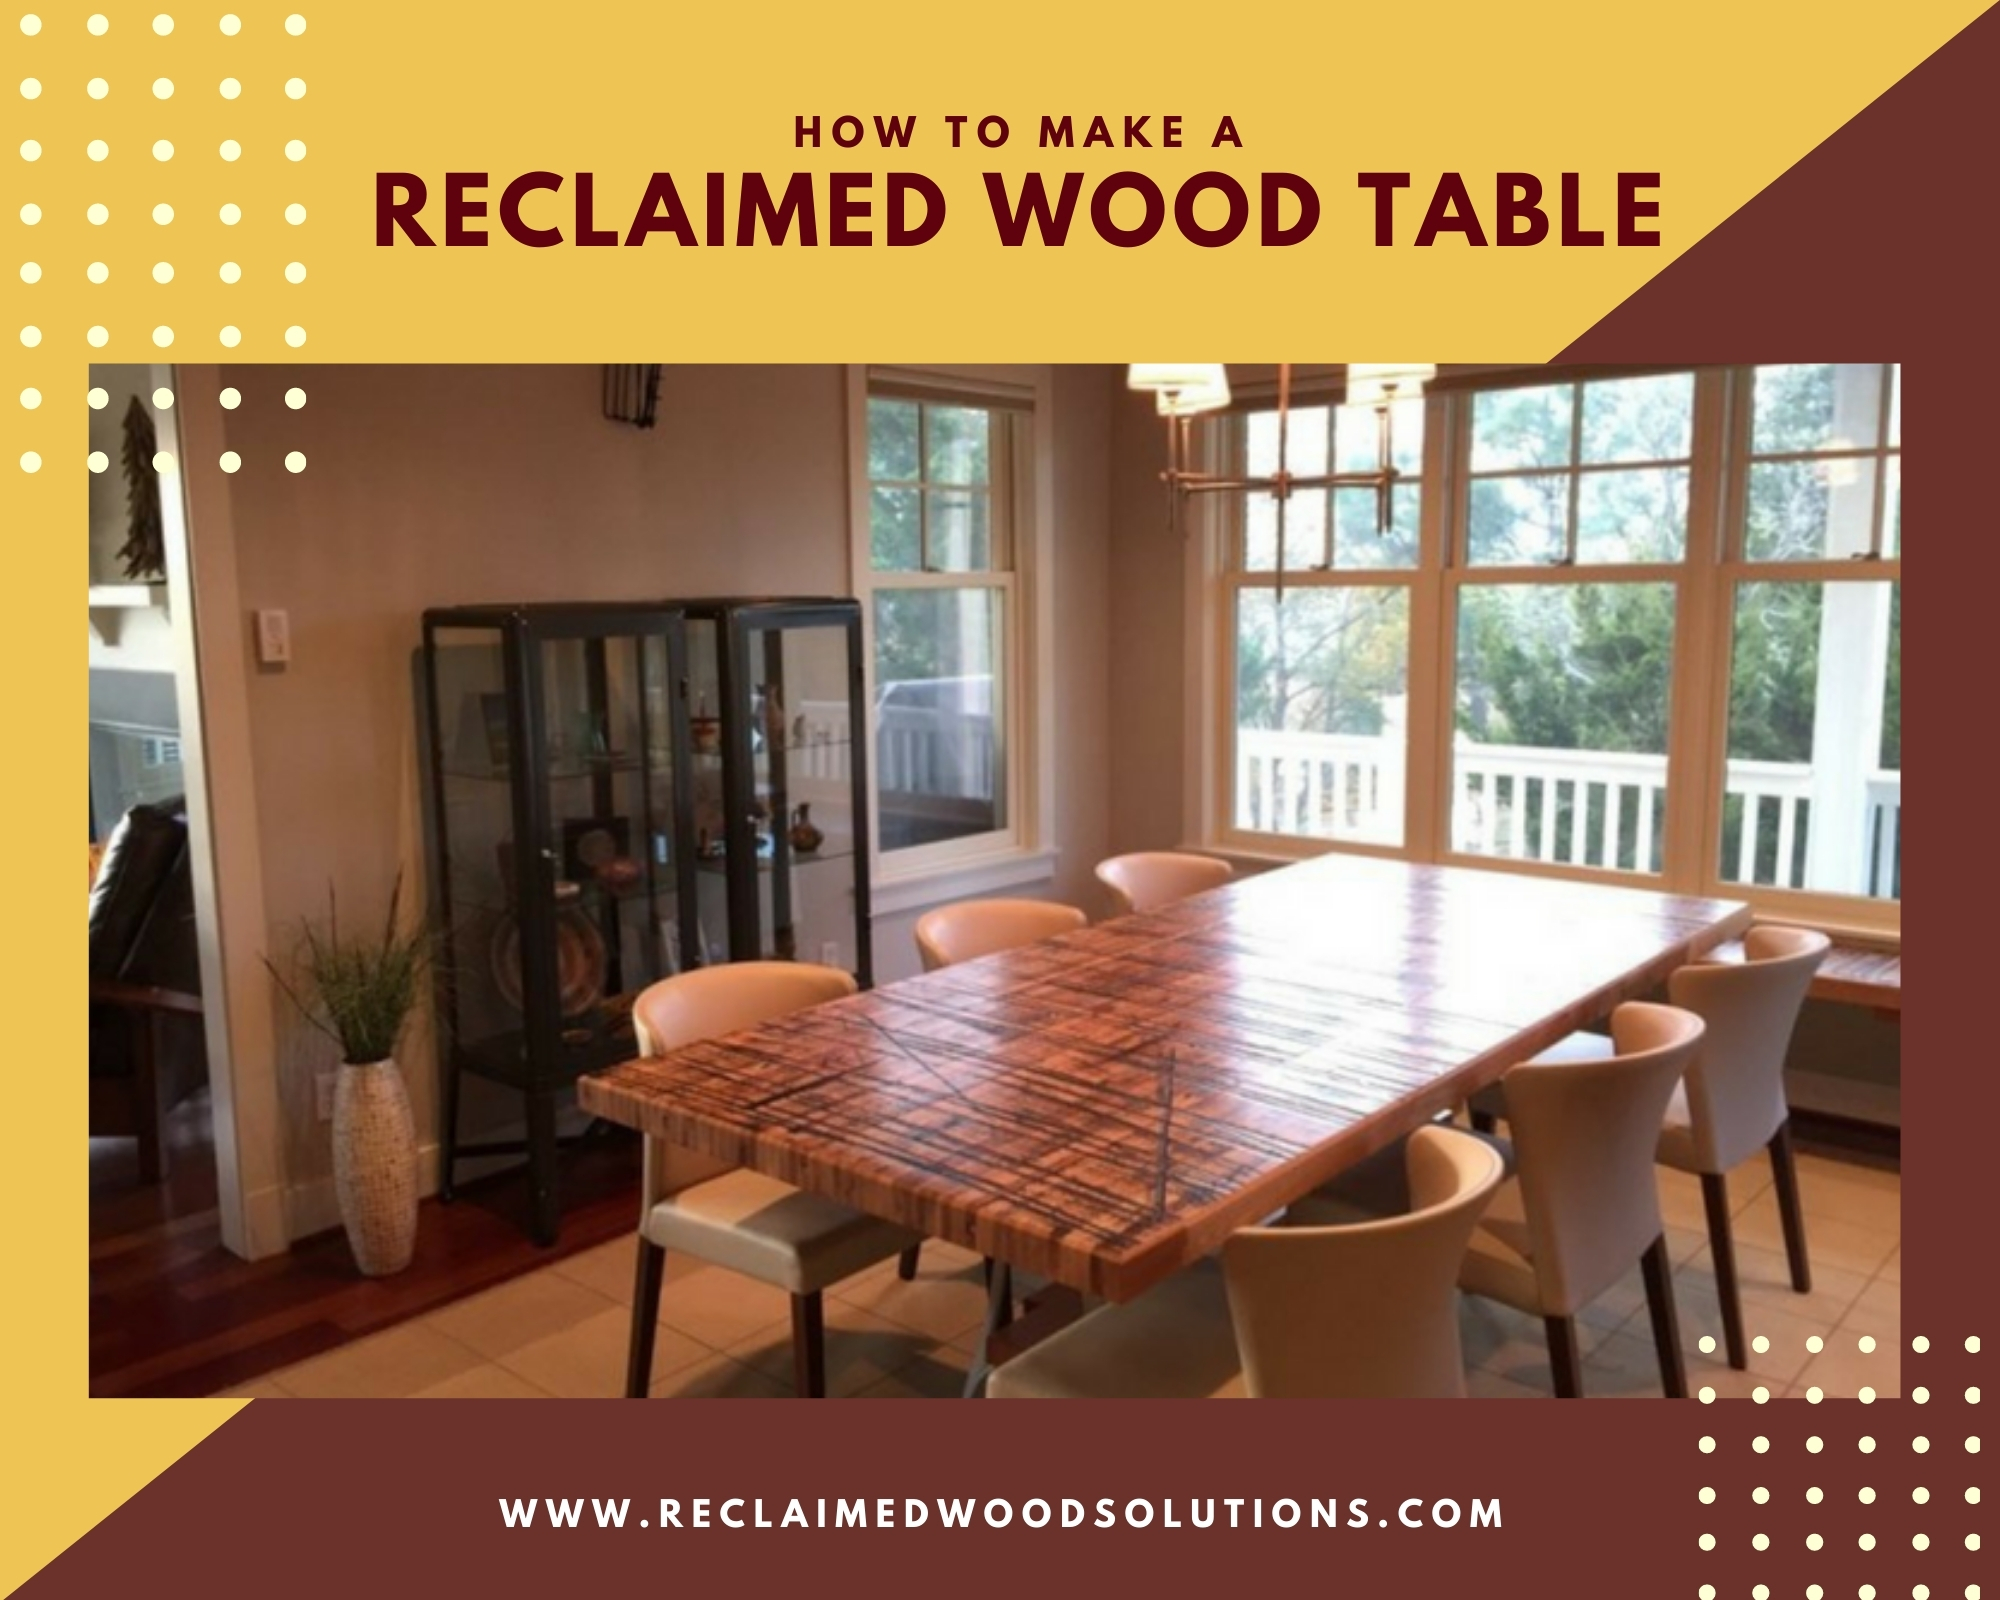
Trying to decide what to do with that reclaimed wood you just purchased? Reclaimed wood is a sturdy and stunning material that’s perfect for furnishing your home, including benches, beams, and of course, tables. Making a table out of your reclaimed wood can be an exciting DIY project for homeowners who want to hone their handy skills. But if you’ve never made a table before, you may first need a bit of a tutorial to get started. Here are our tips to make a reclaimed wood table for your home:
Find Your Reclaimed Wood
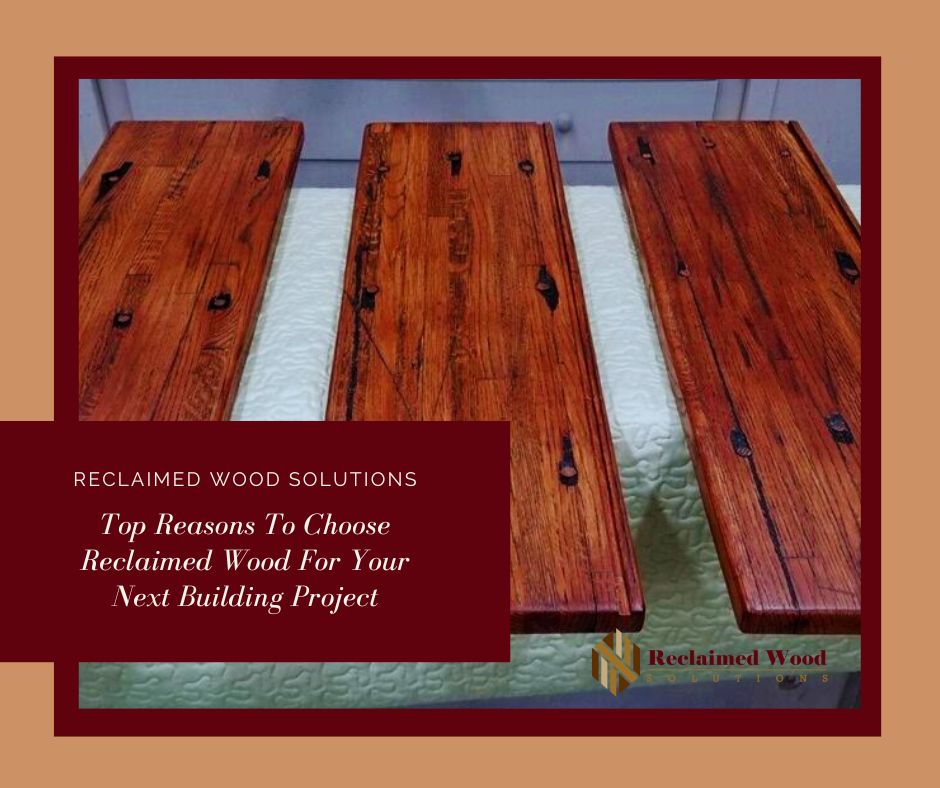
The first step, of course, is to find reclaimed wood from a reputable source that has the sort of character you want. Our reclaimed wood comes from old cargo boxes and railcars, so it comes with plenty of unique texture. We ship our wood anywhere within the United States, so wherever you plan to build your table, Reclaimed Wood Solutions has you covered.
Dry the Wood
Before you begin, you need to ensure that the wood you choose is dry. Reclaimed wood can sometimes retain some of its moisture from past lives, so it’s a good idea to check this. You can store it in a shed for a year in order to make it fully dry or — if you don’t have the time — place the wood in a hot, dry area for 1-2 weeks, with spacers between each wood plank.
Find Leg Brackets
You’ll need leg brackets to attach the surface of the table to the legs so that it holds up. These will need to be bolted into the table with sturdy bolts that should, ideally, hold up for decades to come. Make sure the leg brackets fit the size of the table you want to make. Don’t worry too much about messing with the aesthetic of the table, as the leg brackets will be under the surface of the table and not often seen. Just choose the function that works best for you.
Plane the Wood
Chances are you’ll need to plane the wood before you begin. Planing involves removing surface strips to help flatten and shape the wood into what you want. This will also help you to stain the wood later, as it will already be stripped. You can have wood planed at a hardware store or use a hand planer. Once you have the right materials and the wood is dry and planed, you can get started with the assembly.
Attach Legs and Surface
This is the main part of the job. If you’re using multiple planks for the surface of the table, adhere them together and seal them. From there, attach the legs of the table and screw everything in tightly. Test your table out to make sure it’s secure and not too wobbly.
Add a Finishing Stain
Once you have the structure of the table down, all that you have left are the finishing touches. Pick a stain that really brings out the character of the wood and your vision for the table. You might even want to paint the table, depending on the design for the room. The finish will not only give the table the aesthetic you desire, but will help protect it from spills over time.
Ready to get started with your reclaimed wood table project? Contact Reclaimed Wood Solutions today for more information or to order your own reclaimed wood.


